Make a skin-spot note that supports assessment rather than self-diagnosis
A useful skin-spot note helps a dermatologist find the right place and understand what you noticed. It is not a home diagnosis or a reason to postpone an appointment while collecting more pictures. This guide explains how to look systematically, describe a change clearly and take an ordinary reference photograph without filters, repeated manipulation or a complicated tracking project.
Act on a concern before perfecting the record
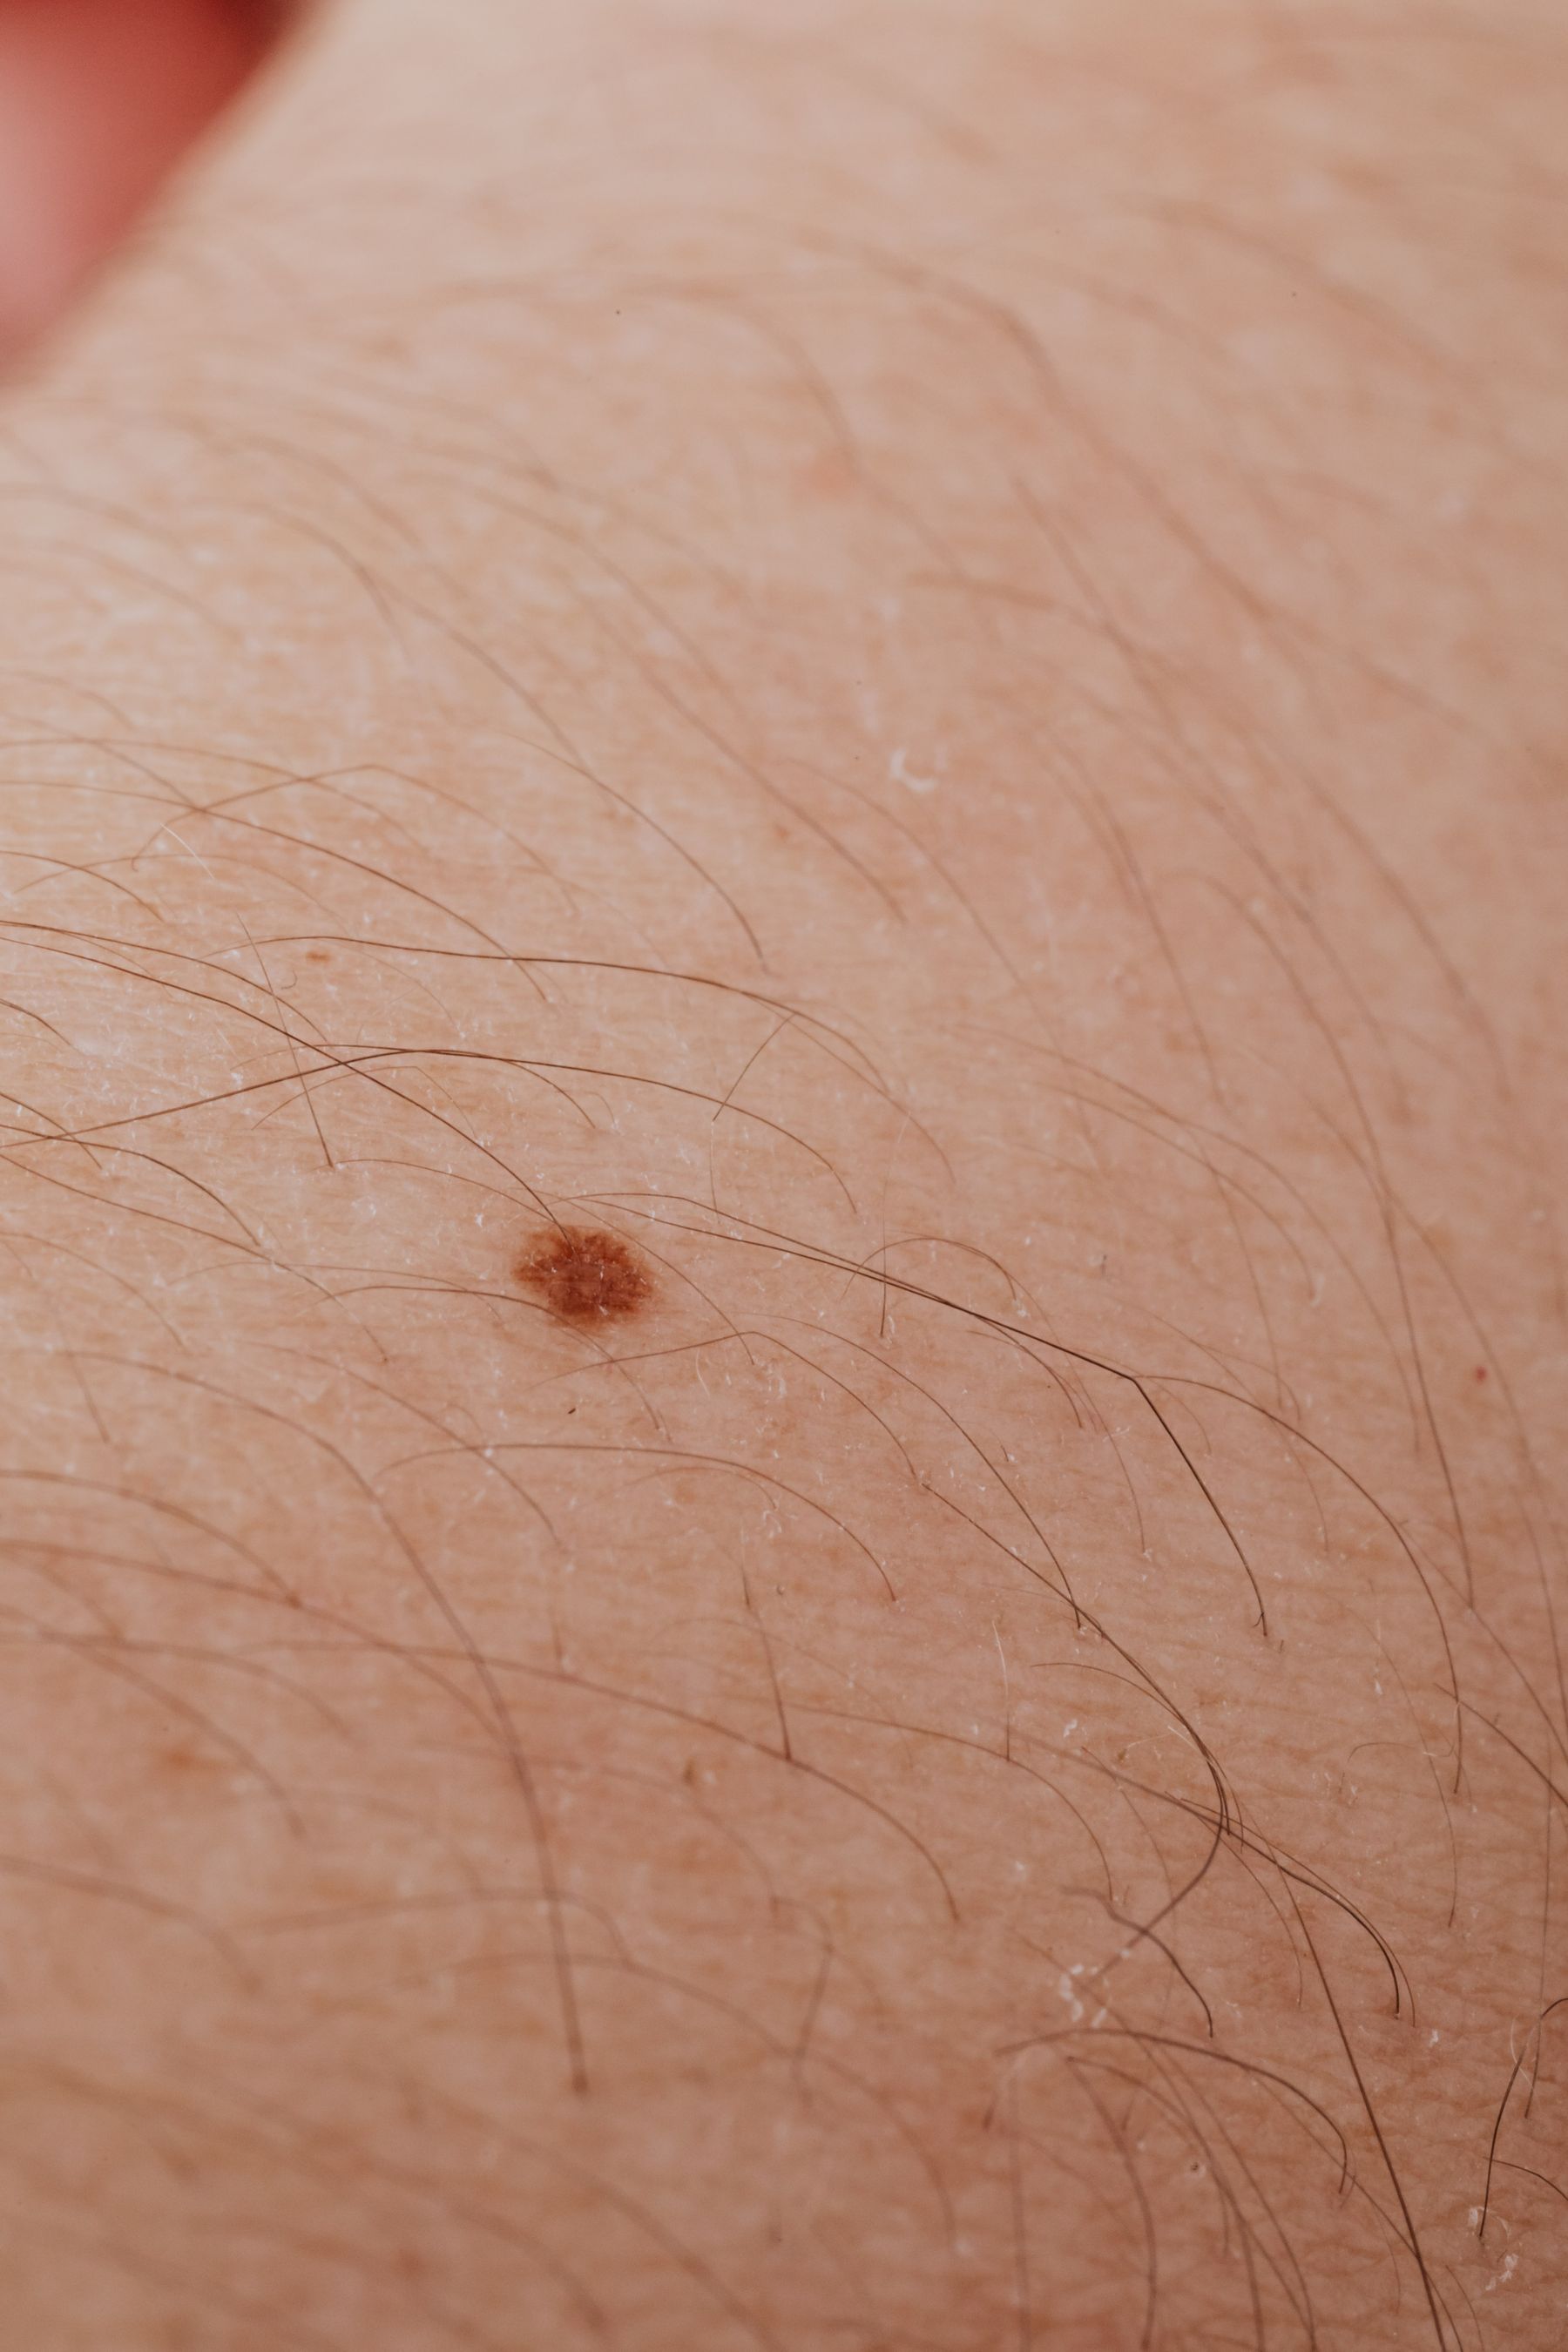
AAD advises seeing a dermatologist about a spot that differs from others or changes, itches or bleeds. If that describes your concern, arrange the assessment instead of waiting for a planned monthly photo session or a more dramatic change. A brief note can be made while arranging care; it need not become a condition you must satisfy before contacting the clinic.
Say what prompted the call in ordinary language: a mark has changed, a place bleeds, or an area keeps itching. If you cannot describe its exact shape, you can still seek help. Do not use a reassuring online image match to dismiss the concern, and do not try to prove that it fits a particular disease category before asking for an appointment.
Look systematically rather than checking one favorite area
AAD’s self-exam method includes front, back and sides in a full-length mirror, then arms, hands and nails, legs and feet, including soles and between toes. A hand mirror helps with the back of the neck, scalp and other hard-to-see areas. Use a stable, private setting with enough light and room to change position safely.
You do not need to force your body into an awkward angle. Ask a trusted person for help with areas you cannot see if you are comfortable doing so, or ask the clinic how those areas can be checked. The purpose is a useful view of skin you might otherwise overlook, not achieving a difficult photograph while balancing on a chair.
Locate the specific spot in words
Use a body side, a region and a nearby landmark. For example, left forearm on the thumb side, a little below the elbow, is more useful than arm spot. Say whether it is the same spot you asked about previously or a different one nearby. A simple body sketch can help, but only if you can recognize the location from it later.
If several marks lie close together, a wider reference photograph can show their relationship. Do not add permanent ink, scratch an arrow into skin or repeatedly poke the spot to identify it. Use the surrounding anatomy and a clear verbal description. These preserve the ordinary appearance for the assessment instead of adding a new irritation that complicates the conversation.
Describe observation, duration and uncertainty separately
Record what you actually noticed and when you first noticed it. Distinguish that from how long you think the spot has existed. A mark first seen yesterday may have been present longer; writing noticed yesterday communicates the uncertainty accurately. If you have an earlier dated photograph that happens to show the area, keep it available without pretending it is a clinical measurement.
Describe a change with the comparison you really have: looks wider than in a previous photograph, began itching last week, or catches on a shirt. Do not convert uncertain memory into a precise millimeter growth rate. If there was bleeding after a scratch or grooming injury, tell the clinician that context rather than removing it to make the story fit an online warning sign.
Take an ordinary reference photo if it is useful
Use the normal camera rather than beauty mode, a color filter or a smoothing app. Take one context view that identifies the body area, then a closer view that is in focus and evenly lit. Check that the image actually shows the intended spot before putting the phone away. A blurred crop cannot become more informative simply because you save many copies.
Do not use the photo to decide whether you can safely wait. If the clinic has a secure upload process, follow its instructions about image type, lighting and any requested reference scale. Do not place a ruler against damaged skin or manipulate a lesion to improve the picture. A photograph supplements the conversation; a professional may still need to examine the area directly.
Keep private images in an appropriate channel
A skin photograph may include identifying features or intimate areas. Ask the clinic which secure system it uses instead of posting publicly or sending to a random account that advertises instant diagnosis. Keep your own copy organized by date and location so you can retrieve it during the appointment without scrolling through an entire camera roll.
If someone helps take the photo, explain which area is needed and what should stay outside the frame. Review it together if you wish and avoid unnecessary sharing. There is no benefit to exposing more of the body than the actual clinical request requires. You can also ask the clinic to photograph the area during an in-person visit if taking it yourself is impractical.
Bring the observation to an actual appointment
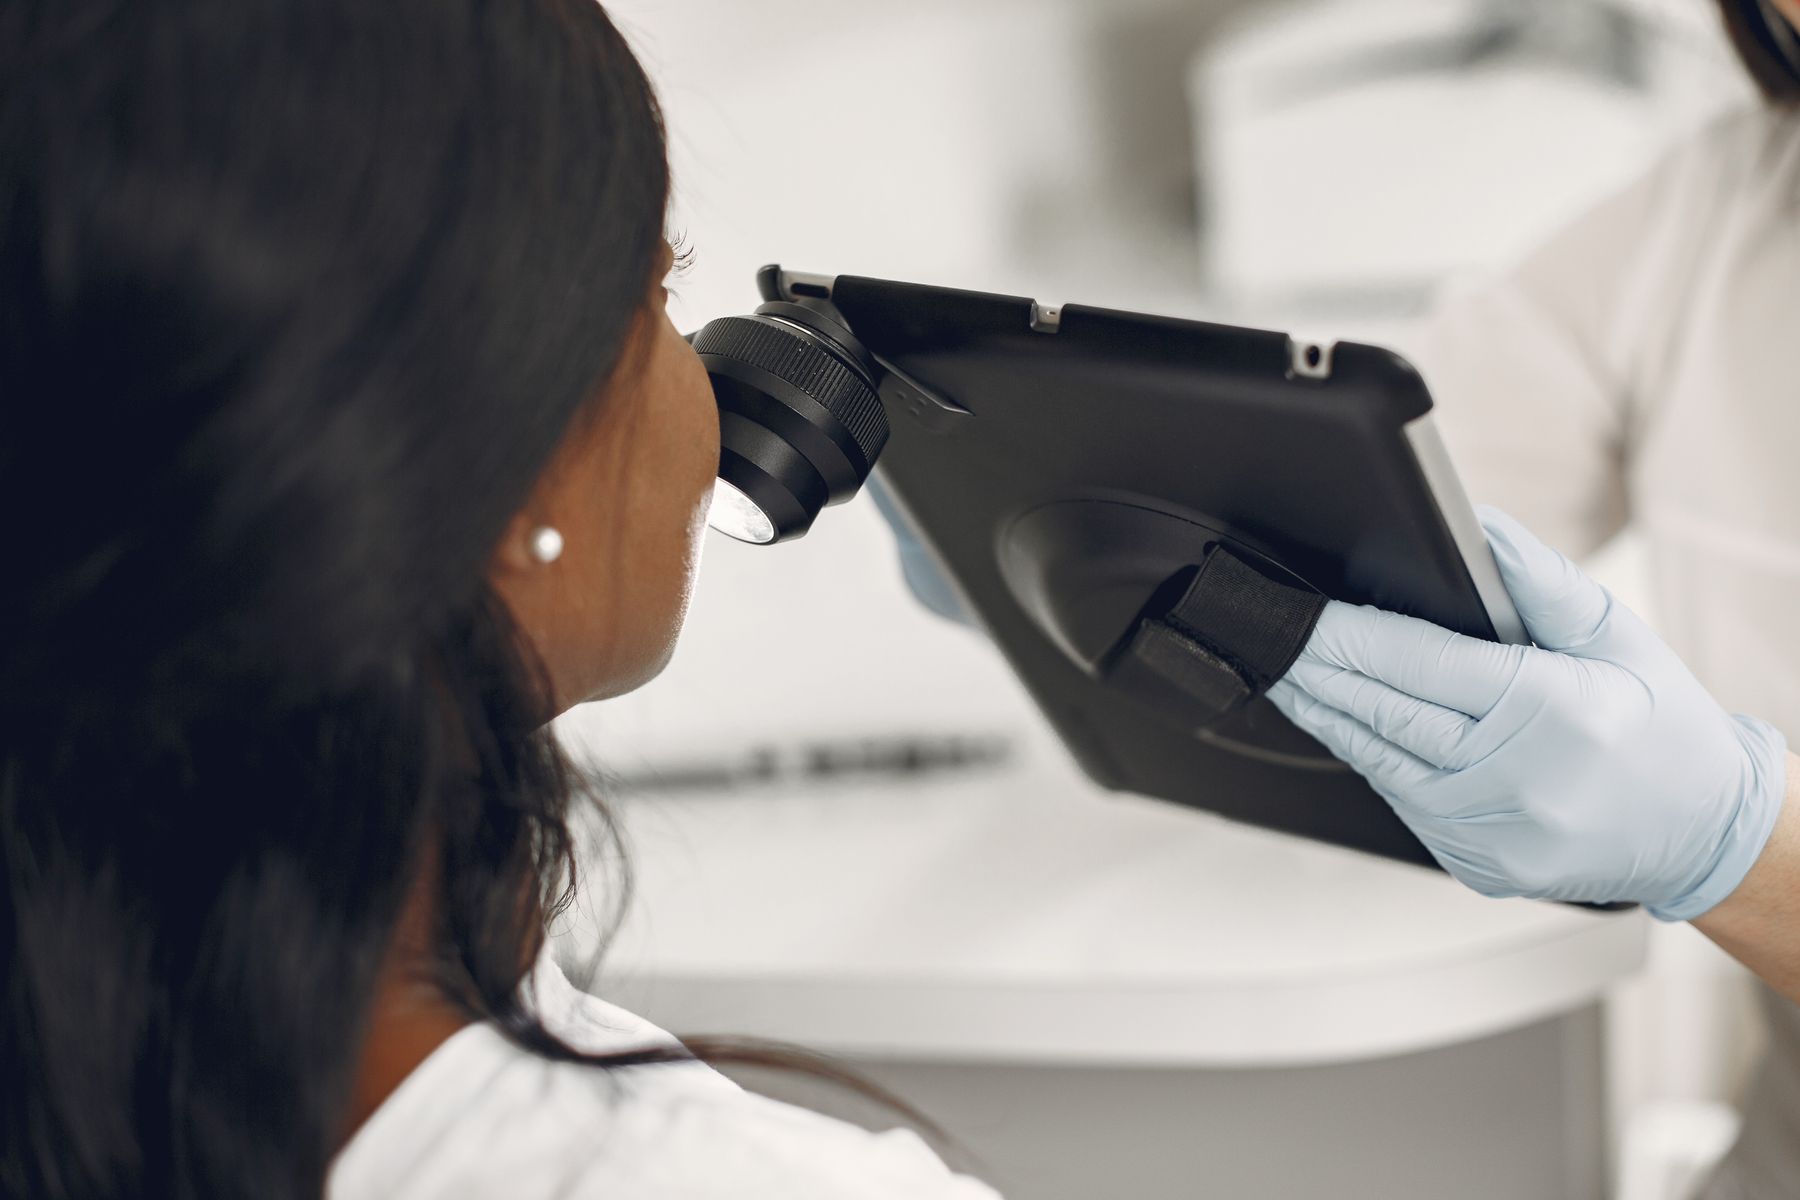
Bring the location, when you noticed it, the specific change or symptom, and any earlier relevant image. Tell the dermatologist about home products or procedures used on that area, including attempts to lighten or remove it. That information matters more than a long list of internet diagnoses. Let the clinician examine the actual spot and explain what assessment is needed.
Before leaving, clarify what happens next: whether a procedure or test is planned, how results will be communicated, and what changes should prompt another contact. If you are told to monitor something, ask for the actual method and interval that applies to you. Do not replace those instructions with a generic schedule from an article. Your note has done its job when it makes the real conversation easier.
A useful call without a self-diagnosis
Dee notices an itchy mark on the back of the right calf while changing clothes. Dee contacts a dermatology clinic, describes the location and when the itching began, and takes one normal context photograph plus a focused closer image using the clinic’s instructions. An earlier holiday photograph may show the same area, so Dee brings it without claiming it proves a precise growth rate. The note supports assessment; it does not decide what the mark is.
Questions
Should I wait until I have several comparison photographs?
No. Do not delay a concerning spot’s assessment to build a record. Contact the clinic and describe what you noticed; it can tell you whether photographs are useful and how to provide them.
Can an online look-alike picture rule out a problem?
No. Similar appearance in an image does not establish the diagnosis of your own spot. Bring the actual concern to a dermatologist rather than selecting the most reassuring image match.
Sources and photography
Photographs are credited beside each image. Their recorded capture dates describe the images; check the current visitor or product information linked above when planning.